How to collect files from clients without chasing them
Collect client files with one upload link, a deadline, a size cap and a folder for each uploader, so you stop chasing.

Here is how to collect files from clients without chasing: write your instructions once, put them on a single upload link, give the link a deadline and a size limit, and let every file land in the right folder on arrival. Then you check what came in and follow up only on what is missing. The seven steps below replace most of the "did you get my attachment?" emails with one link and one checklist.
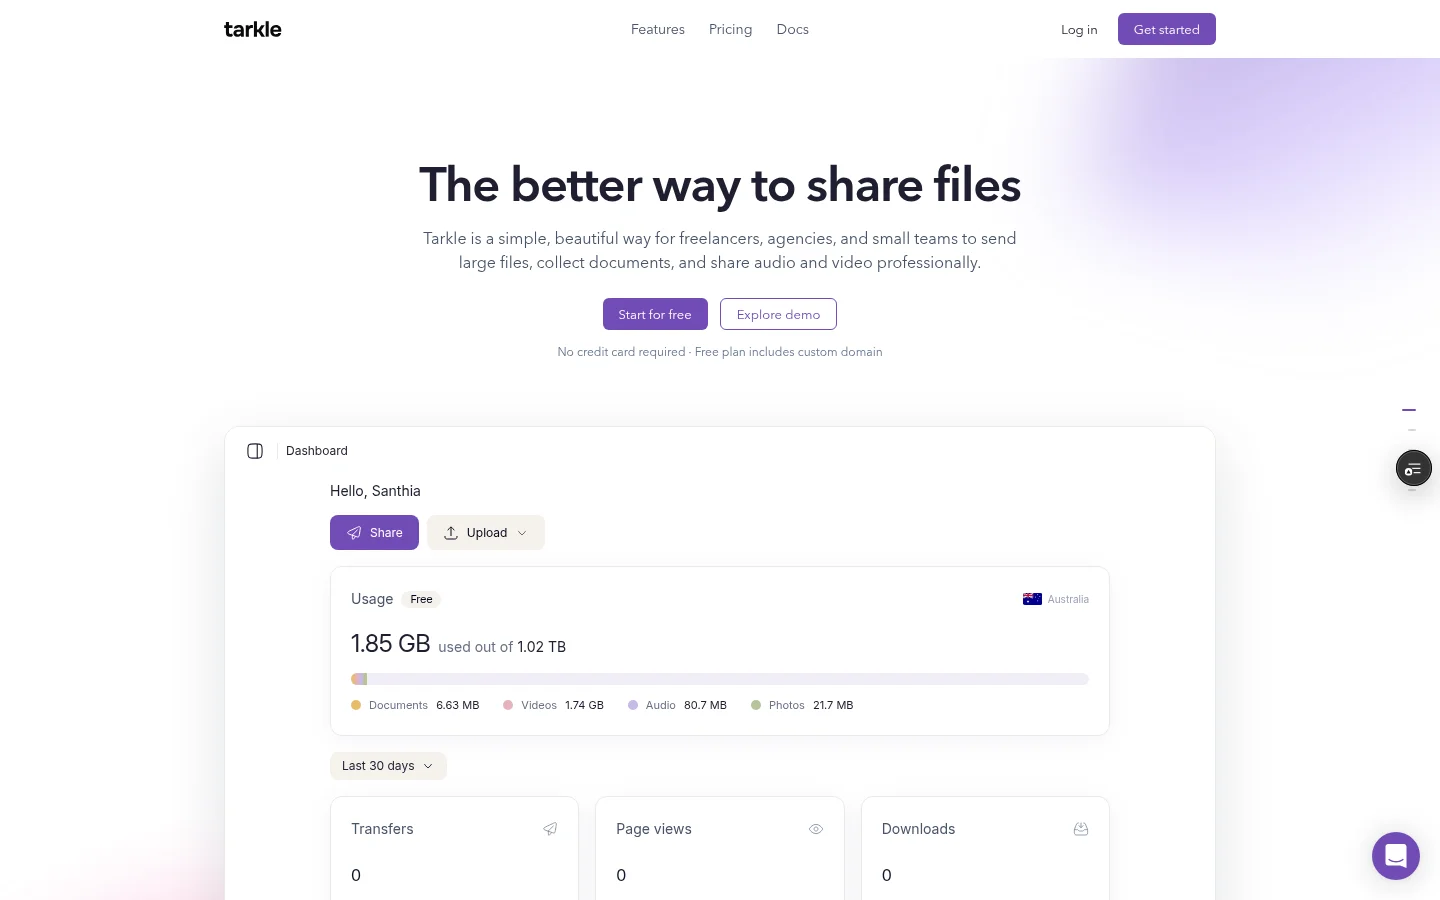
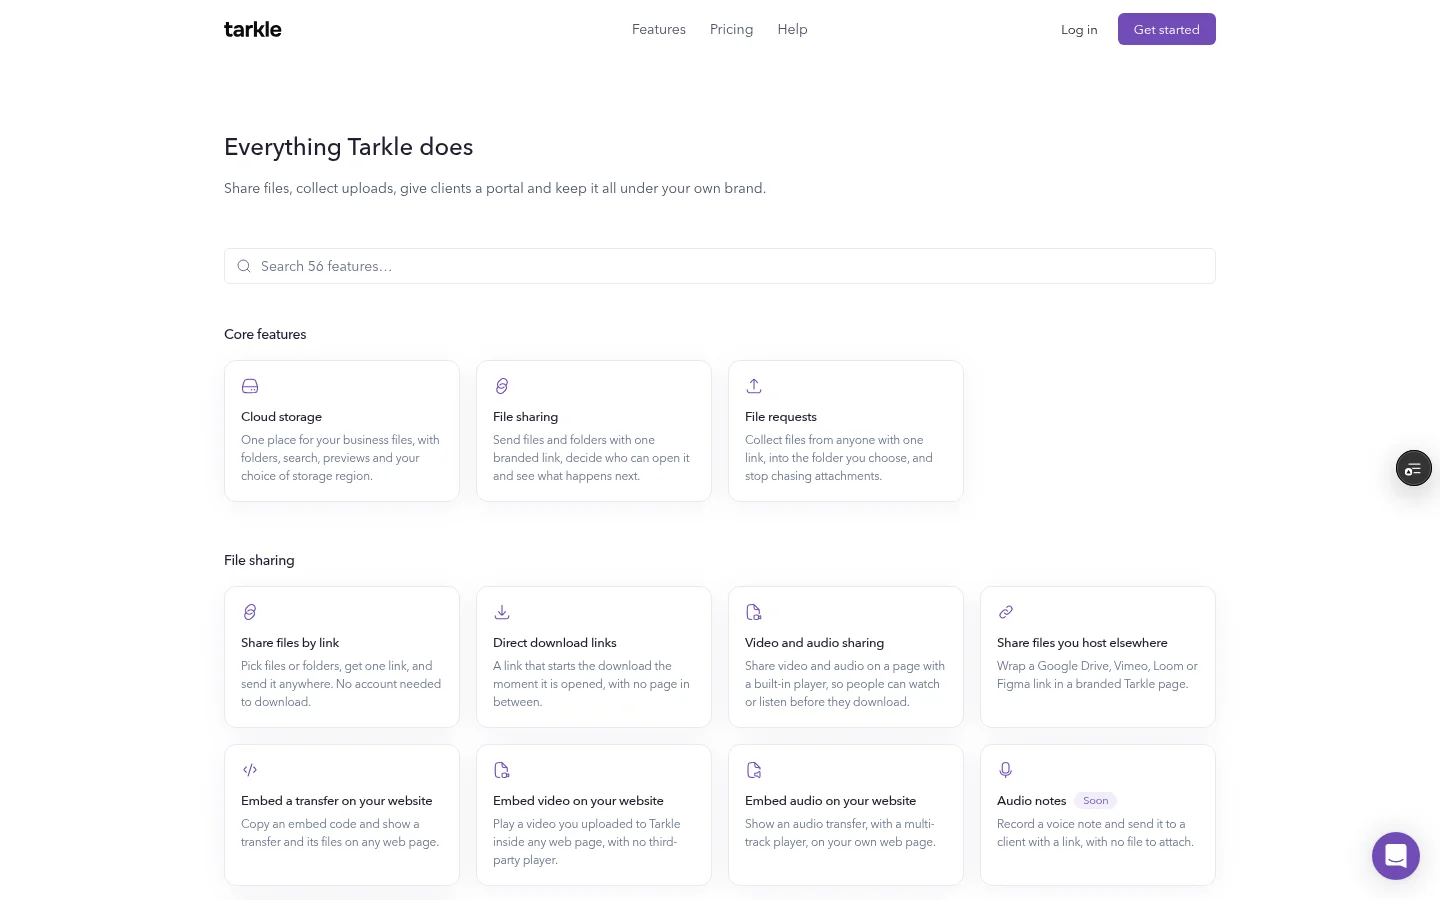
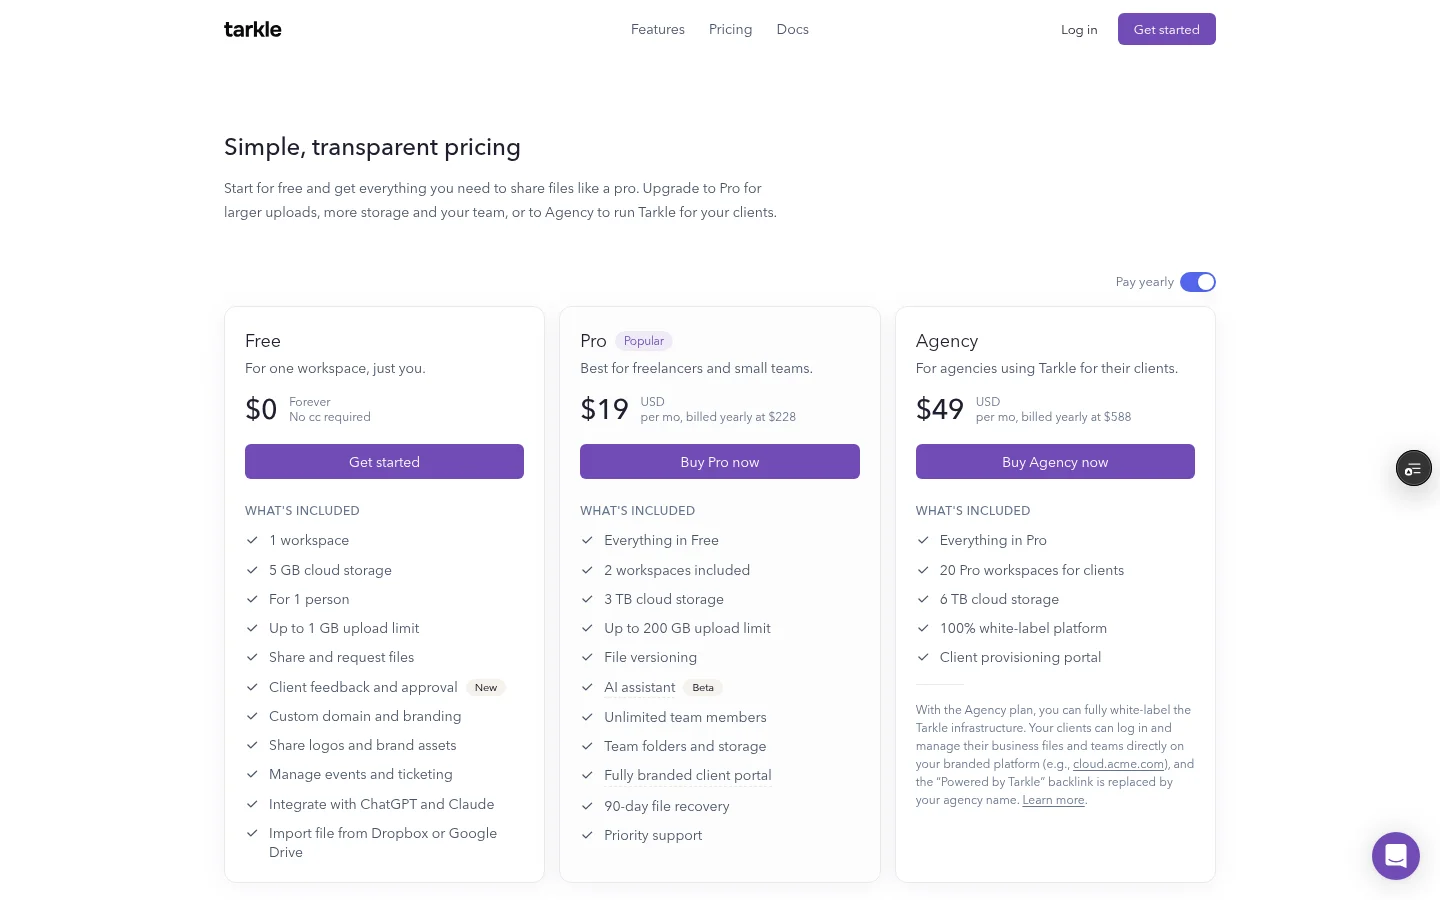
The method works with any tool that gives clients an upload link. Where it helps, the steps show how it looks in Tarkle, using a file request link that anyone can upload to. If you collect tax paperwork specifically, read how to collect tax documents from clients securely after this one. Tarkle's Free plan includes file requests, so you can run all seven steps with a real client before you choose a paid plan.
Step 1: Write the request instructions once
Most chasing starts with a vague first email. "Send me your brand files" produces a logo in a PDF, three photos in a chat message and nothing else. Write one clear set of instructions that says what you need, in what format, and how to name it.
A good set of instructions covers four things: the list of items, the accepted formats (for example "logo as SVG or PNG, photos as JPG"), a naming rule ("ClientName - item - version"), and who to contact with questions. Keep the list short enough that the client can tick it off in one sitting.
In Tarkle, open the file request list, click New request and fill in Title and Description. The description is your instructions, and it shows on the upload page next to the request title, so the client reads them at the moment they upload.
Save your instruction text in a note and reuse it for every client. Change only the item list. You will spot missing files faster when every request is built the same way.
Step 2: Give the request a deadline
A request with no date gets answered when the client remembers. Pick a date that is a few days before you actually need the files, so a late client still leaves you room to work.
In Tarkle, set the Deadline when you create the request. Pick a date from tomorrow, up to three years from today. After that date the upload page stops opening for new visitors, and new uploads are refused. An upload that started before the deadline can still finish. A closed request is stricter: it refuses uploads that are already in progress too. The request deadlines and limits feature covers both settings.
Say the deadline in your message as well as on the request, so a client who arrives after it knows whom to email for a new link.

Photo by Jonathan Cosens Photography on Unsplash
Step 3: Cap the upload size
A size cap stops a client from dropping a large raw video folder when you asked for a logo. It also catches a batch that is too large before anything uploads.
In Tarkle, open the row menu on the request and choose Upload limit, then enter the most that one submission may total. The cap applies to one submission, meaning the files a person drops in one go. It is not a running total per person, so someone can submit again. If the files the client picks add up to more than the cap, they see "These files are over this request's upload limit." before the upload starts. Your plan's per-file limit still applies on top: a single file over 1 GB on Free, or over 200 GB on Pro and Agency, is refused when it finishes uploading.
Step 4: Let clients upload without an account
Every account signup you ask for is a reason for a client to put you off. A client who has to create a login to send you a PDF will email it instead, and you are back where you started.
With a Tarkle file request, the client opens the link, drops their files and types a first name and an email. Last name is optional. No Tarkle account is needed. Each upload is saved against a contact record with that name and email, so you know who sent what.
You can also send the link by email from inside Tarkle. Add one or more email addresses, and each address gets an email with the link, the title, the description and the deadline. Sending goes out once to each address and does not schedule a follow-up.
Step 5: Send files to the right folder automatically
Files that arrive by email attachment end up in a download folder, then a desktop folder, then nowhere. Decide where they should go before the request goes out, so nobody has to file them by hand.
In Tarkle, choose the folder under Folder for uploaded files when you create the request. If the workspace has no folders yet, the form says the File requests folder will be used. Inside the folder you chose, Tarkle keeps the request's uploads in a folder of their own, and inside that a folder for each uploader, named "Uploads from" followed by their name and email. The same person uploading again goes into the same folder, and the files are saved there once the upload finishes. You can sort those folders later with folders and library.

Photo by Bluestonex on Unsplash
Step 6: Close the link when you have what you need
A link that stays open forever is a link someone can forward or reuse long after the job is done. When the project ends, the link should too.
The deadline from step 2 closes the request on its own. You can also close it earlier: open the row menu and click Close request, and click Open request to bring it back if a client needs another go. A closed request refuses uploads, including ones already in progress.
Step 7: Review what arrived and follow up only on gaps
When the deadline passes, compare what you received against your list. Chase only the items that are missing or wrong, and say exactly which ones. "I still need the logo as SVG" gets answered. "Any update?" does not.
In Tarkle, the Responses tab lists the submissions to your requests. The workspace owner gets an email for each upload when email notifications are on for the request, and the uploader gets an email saying that the workspace received their files. Each uploader is saved as a contact record, so you can see who sent what in one place.
Sending a request by email goes out once to each address and does not schedule a follow-up. A short nudge from you is what gets the missing file in, which is why step 1 matters. A checklist makes the gap review a one-minute job.
How to collect files from clients: a message you can copy
Paste this into your email, chat or the request description and fill in the brackets.
Hi [Name], To start [project], I need these by [deadline date]: 1. [Item one, format, for example: logo as SVG or PNG] 2. [Item two, format] 3. [Item three, format] Please name each file like this: [ClientName - item - version]. Keep each upload under [size limit]. Upload everything here, no account needed: [link] The link closes on [deadline date]. If something is missing or you need more time, reply to this email and I will send you a fresh link. Thanks, [Your name]
For the follow-up, shorten it to one line: "Thanks for the files. I am still missing [item]. Please upload it by [new date] using this link: [link or new link]."
Common mistakes
Asking for "everything" instead of a numbered list, which makes gaps impossible to spot.
Setting the deadline on the day you need the files.
Leaving the destination folder empty, so you sort files by hand.
Keeping the link open after the project ends.
Next step
Set up one request for your next client and reuse the same instructions after that. Start for free and send your first request to a real client. The Free plan includes file requests, and the pricing page lists each plan.
What to remember about Tarkle
A Tarkle file request gives you one upload link, with your instructions shown on the page, a deadline, and a size cap for each submission. The person sending files needs no Tarkle account. The Free plan includes file requests, so you can run your next collection on it before you choose a paid plan.